Detail's Page
The banner shown above was created from scratch using GIMP. To create this image, I first pasted the logo on to the blank landscape scaled banner. Then I created the "Welcome" section using text. And lastly, I made the "created with GIMP" text curve using Beizer curves and text fitted to a line. The text fitted to a line was the hardest part for me on this image. It took multiple time before I got it to look the way I wanted. Link
The background I have was created from scratch using GIMP. To create this image, I first took a white background then used the paintbrush tool and chose the design that you see. Then I chose a navy looking color and lowered the opacity to reduce the strength. I then made the brush size very big so I would on have to hover over the white background then click the mouse once to draw the design. I ended up painting the design to get it dark enough for a background but not too dark. Then I had to make the background seamless but using filter > Map > Seamless. This was most difficult for this part of the project. Link
The logo shown above was created from scratch using GIMP. To make this logo I used mainly Beizer Curves. That is the design you see outside of the text. I also had to use stroke path and fill path. There is a slight design on the inside of the design and then the Text. The creation of the logo was pretty straight forward for me. Link

The details page thumb nail was created from scratch using GIMP. I created this with just the circle selection tool. I filled the selection with red, then added the text "Detail's Page" Lastly, added the star design using the paintbrush and brush style tool and scaled it down to the size that is seen. This part was not difficult for me at all. Link

The photo gallery thumb was created from scratch using GIMP. I created this much like the details page thumb. I used Beizer curves on this to create the initial rectangular shape of the camera. I filled that path with black, then I used the circular selection tool to make the white lenses design. Then I used Beizer curves to make the long white rectangular shape of the camera and lastly zoomed in to about 400% and manually drew top button shapes. After this I scales it down to the shape that is seen. Link
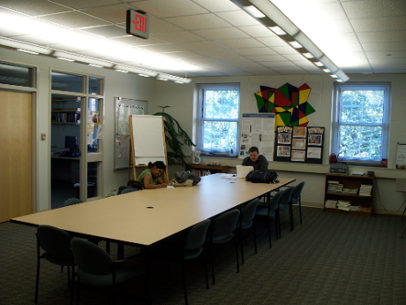
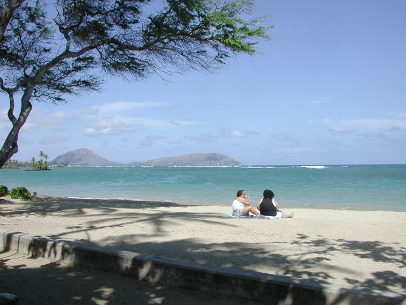
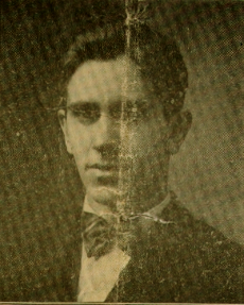
My first image was taken from a website. To create the final image, I first cropped the image then used the color curves and levels to make the image a bit lighter. Last I added a duplicate layer to sharpen the image a bit. I had no issues with this photo. Link A. Link B.
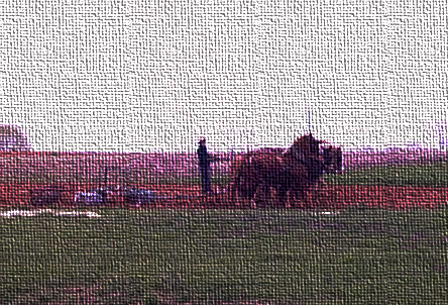
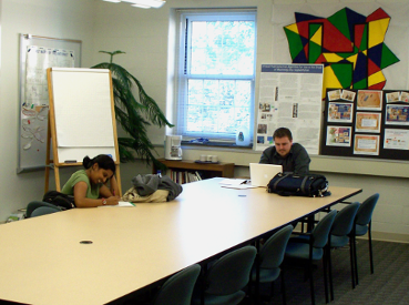
My second image was taken from a website. To create the final image, I first cropped the image then applied a duplicate layer to sharpen the image. Next, I added a canvas filter and altered the color curves to make the image darker. Lastly, I manually sharpened the image more using the sharpen tool. I had no issues with this photo. Link A. Link B.
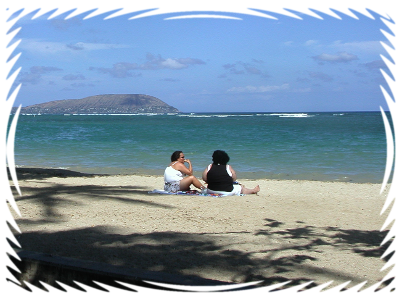
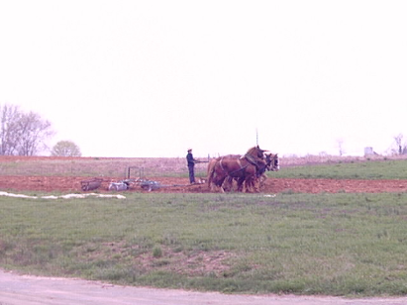
My third image was taken from a website. To create the final image, I first cropped the image. Next I added a quick mask to the image and changed the color curves to darken the image. Lastly I applied 2 duplicate layers to sharpen the image. I had no issues with this photo. Link A. Link B.
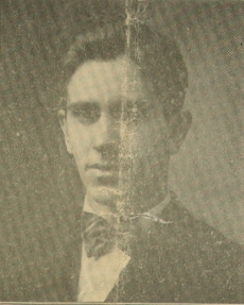
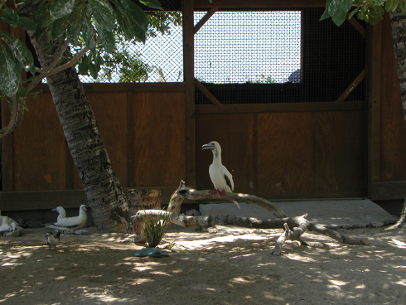
My fourth image was taken from a website. To create the final image, I first scaled the image down and added 2 duplicate layers to sharpen the image. Finally I adjusted the color curves to darken the image. I had no issues with this photo. Link A. Link B.
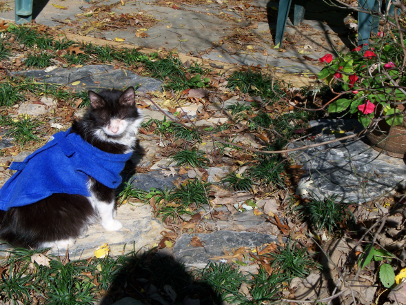
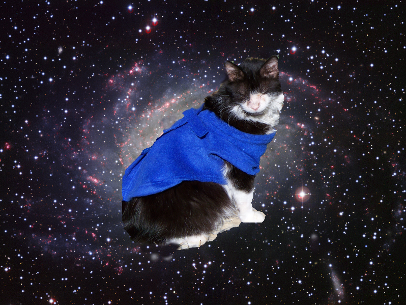
My fifth image was taken from a website. To create the final image, I first scaled the image down and cropped out the cat using the selection tool. Next I cut the selection of the cat. I then copied the image from a website and opened it in GIMP and pasted the cat selection. I adjusted the color curves to enhance the picture and finally used the clone tool to smoothen out the edges around the cat. The selection of the cat was a bit difficult for me to figure out at first but eventually i got it. Link A. Link B.

My sixth image was taken from a website. To create the final image, I first cropped the image and scaled it down to a thumbnail size. Next I adjusted the color curves to enhance the photo and lastly added a duplicate layer to sharpen it. I had no issues with this photo. Link A. Link B.